Jupyter Notebooks: up and running
by Jeff
Jupyter?
Jupyter notebooks are very popular in data science but not so much in the infosec world. If you are doing any sort of security analysis work, jupyter notebooks can be an invaluable investigatory resource. If you haven’t heard of jupyter, or haven’t ever used it hopefully this post can help you get up and running with a functional environment you can use to begin exploring.
Prerequisites
While you can try out jupyter notebooks online, you’ll find right away that you’d like to start creating, storing and sharing notebooks so let’s install locally. I’m going to make some assumptions that you already have a couple things installed on your local machine:
- Python 3 windows mac
-
Pipenv windows or mac
- Pipenv (another resource) windows or mac
Python is the default kernel for jupyter and the one we will use in these series of posts though others are available for everything from javascript, to R to rust. Pipenv is (in my opinion) the easiest way to manage virtual environments for python to save you from messing with your OS’s python environment.
Installation
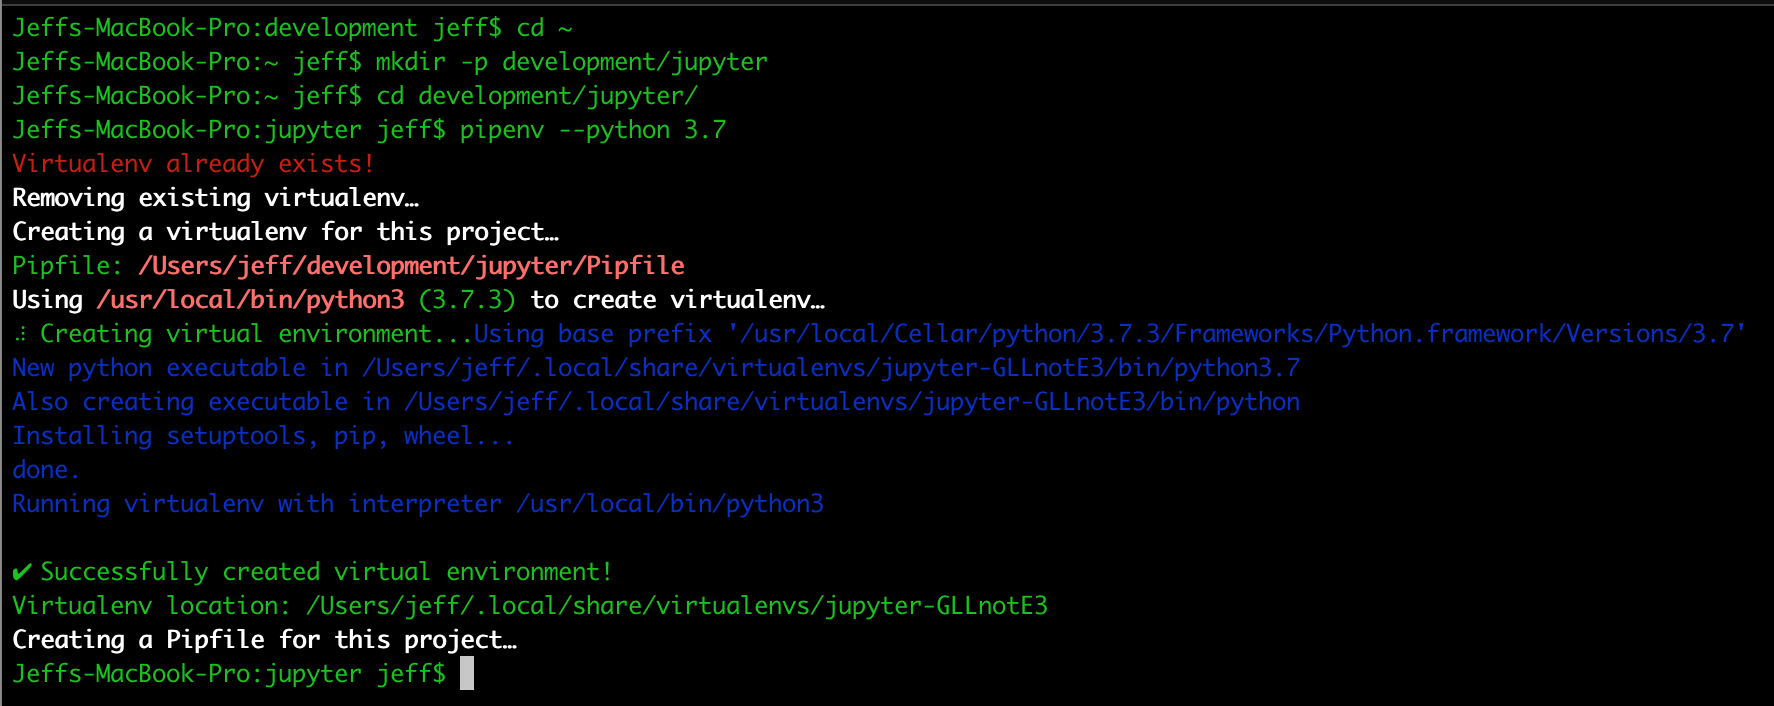
Open up a terminal session and make a new directory for your notebook environment.
 cd  ~
 mkdir -p development/jupyter
 cd  development/jupyter
 pipenv --python 3.7
 pipenv install jupyter
 pipenv shell
 jupyter notebook
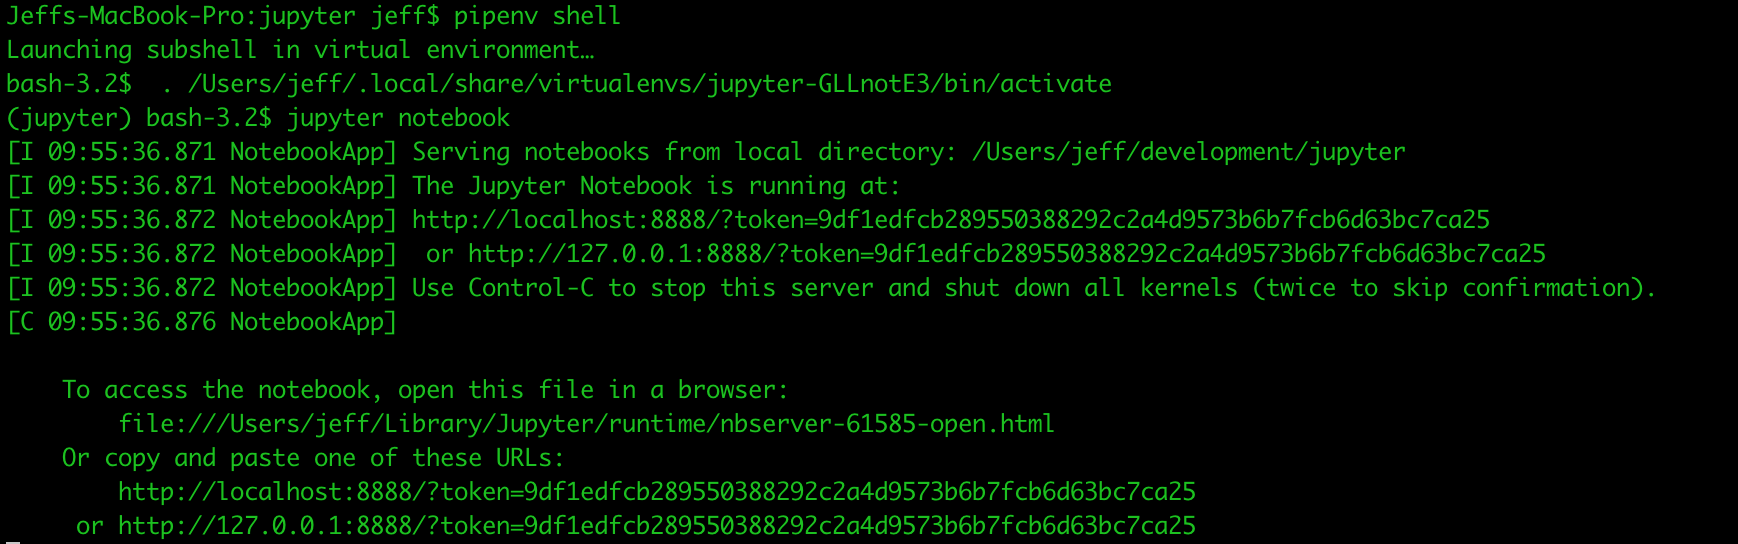
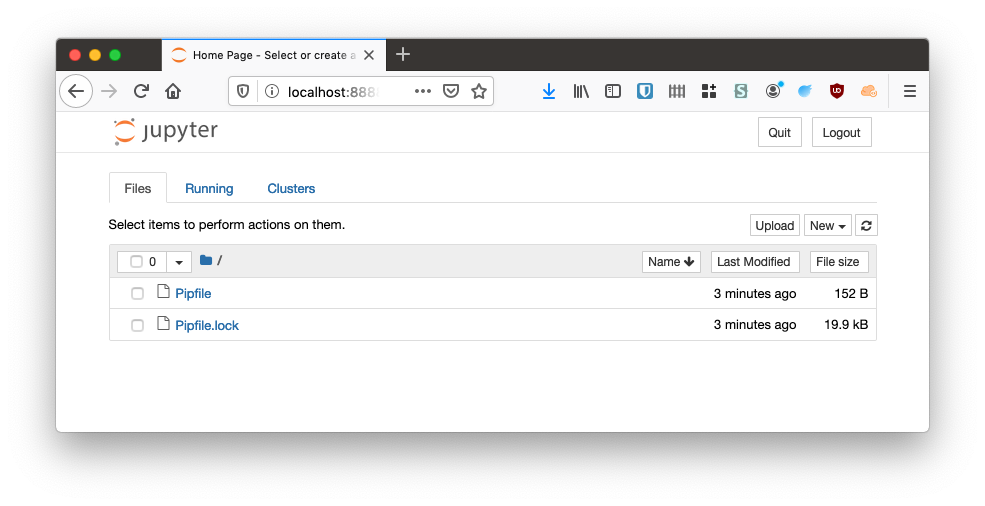
You should find that your system has opened a new browser window pointing to a localhost address with a list of notebooks (empty for now).
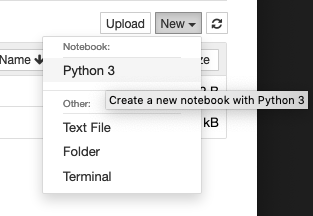
You can create a new notebook with the pull down menu on the right hand side of the window by choosing a python 3 kernel. Note that you can also start a terminal in the environment, or create other documents like text files.
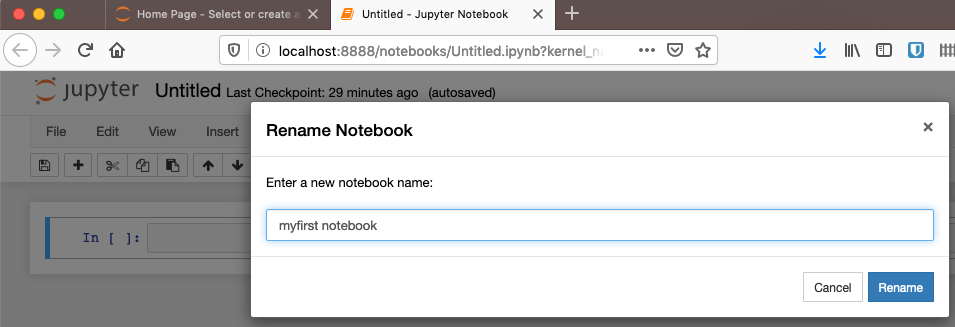
It’s a good habit to name your notebooks as you create them so you don’t end up with a directory full of files simply named ‘untitled’. You can rename a notebook by simply clicking on the “Untitled” name and choosing a new name.
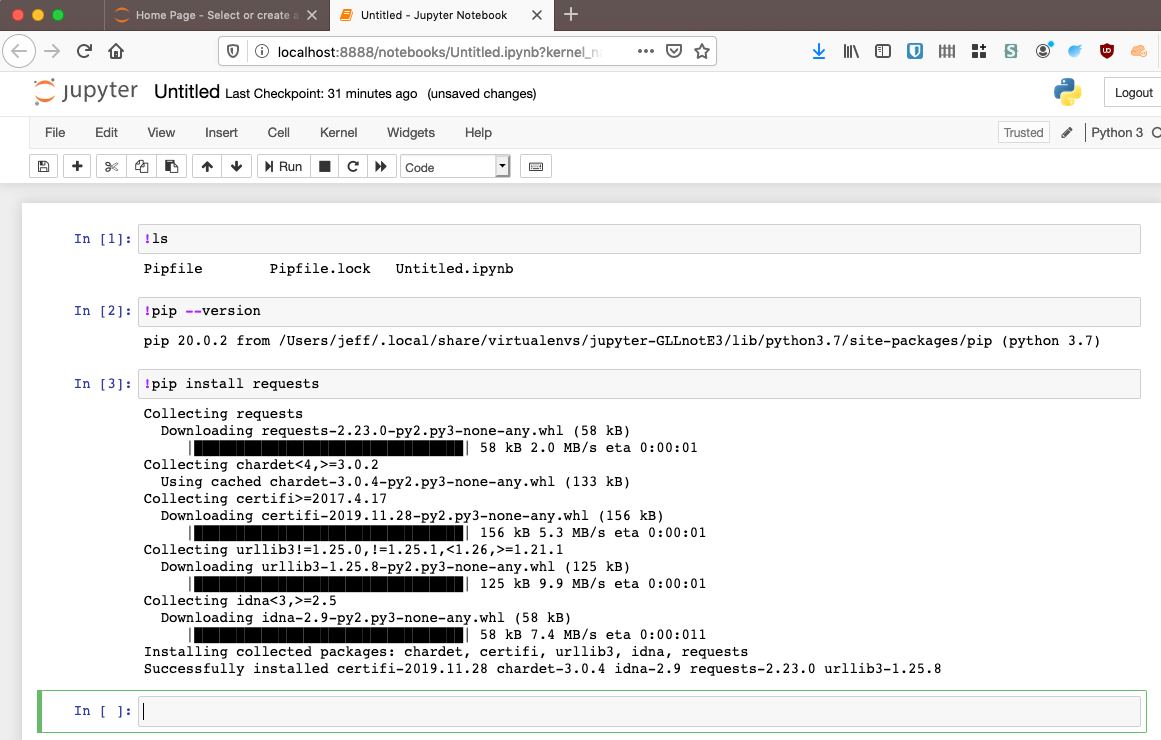
You will definitely need to install supporting libraries to make your notebooks useful. It’s worth knowing that you can run shell commands in a notebook with the ! command shortcut. Here’s a couple commands and an install of the requests library:
You can run a cell by entering the cell (click into it), and pressing ctrl enter. You can run the cell and move to the next cell by pressing shift enter. The full set of keyboard commands is worth pursuing to get familiar with indent, copy, paste, split cells, etc (Help Menu→ Keyboard shortcuts).
Now let’s use requests to make a simple web call:
import requests

response = requests.get('https://httpbin.org/ip')
ip=response.json()['origin']

print(f'Your IP is {ip}')
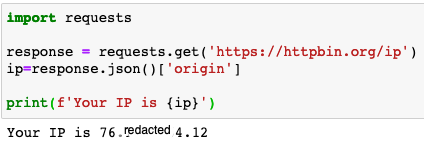
You can see your system went out, retrieved the result of a web call, assigned the result to a variable and used that variable in a simple display.
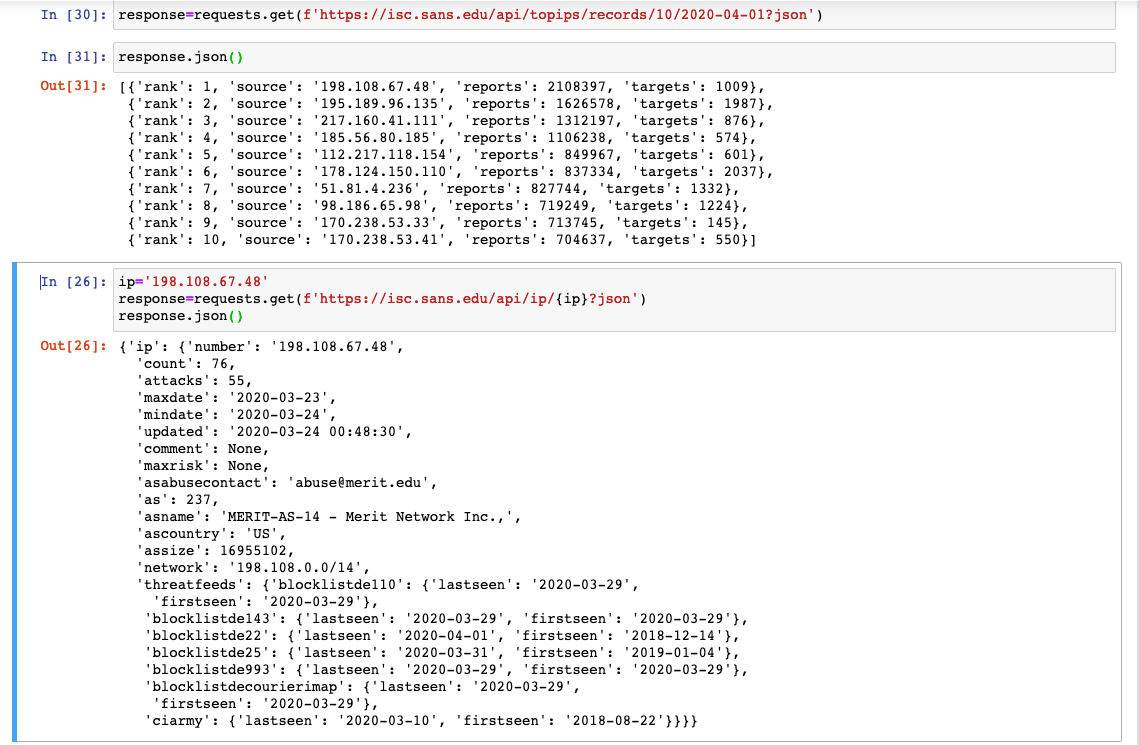
You can use this same pattern right away in your infosec analysis by re-using the same concept against well known data enrichment sources. SANS might win the award for the oldest set of IOC data. Their api docs can be found at https://isc.sans.edu/api/# and we can use them to get a quick and easy list of known bad actors to seed our threat hunting exercises.
Here’s a sample session getting the list of top 10 bad IPs for a day and getting some detail for a particular ip:
Hopefully by now you are seeing how you can use notebooks to combine data from a variety of sources to help you investigate issues within your environment. Using notebooks gives you a fast, auditable, reliable, repeatable playbook process that when combined with source control, SIEM, EDR APIs, etc can be a real game changer for security teams of all sizes.
You can find the notebook used in this post here to help you get a kickstart.
Look for deeper dives in the future posts into particular infosec exercises making use of notebook environments to solve common security scenarios.
tags: infosec - python - analysis